CALL NOW at your standard rate
193-tips-for-cold-weather-vinyl-flooring-install

DIY Guide: Installing Sheet Vinyl Flooring in Low Temperatures

DIY Tips for Installing Sheet Vinyl Flooring in Cold Weather

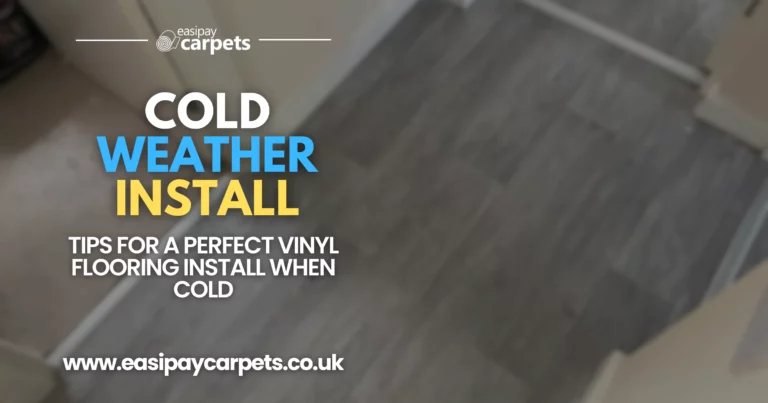
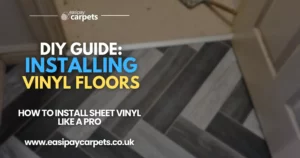
Installing sheet vinyl flooring is a great way to refresh a room with a durable and stylish surface. However, when temperatures drop, vinyl becomes less flexible, adhesive doesn’t bond as effectively, and installation challenges arise. If you’re tackling this project in cold weather, it’s essential to take the right precautions to prevent issues like cracking, poor adhesion, and uneven flooring.

This guide will provide expert tips on how to install sheet vinyl flooring successfully in cold weather, ensuring a smooth and professional-looking finish.

Why Is Cold Weather a Challenge for Vinyl Flooring?

Vinyl flooring is temperature-sensitive, meaning that cold temperatures can cause several issues:

  • Stiffness & Brittleness: Vinyl becomes rigid and harder to manipulate in lower temperatures, making it prone to cracking when cut or laid.
  • Adhesion Problems: Glue-down sheet vinyl may not bond properly in cold conditions, leading to peeling or loose edges.
  • Expansion & Contraction: As vinyl adjusts to room temperature, it can expand or contract, leading to potential gaps or buckling if not installed correctly.

To avoid these issues, follow these essential DIY tips for a successful installation.

Pre-Installation Tips for Cold Weather

1. Acclimate the Vinyl Flooring

Vinyl flooring needs to adjust to the indoor temperature before installation.

  • Bring the vinyl inside at least 24-48 hours before installation.
  • Keep the room temperature between 18-24°C (65-75°F) to allow the vinyl to become more pliable.
  • Lay the sheet flat or loosely roll it out to prevent it from curling when installed.

2. Warm Up the Installation Space

A cold room can make the flooring difficult to work with and cause adhesion issues.

  • Use portable heaters to maintain a warm, stable temperature.
  • Avoid direct heat sources (like placing a heater directly on the vinyl) as this can cause uneven expansion.
  • Seal off drafts by closing windows and doors to prevent sudden temperature drops.

3. Use the Right Adhesive

Adhesives can behave differently in colder temperatures, becoming thicker and harder to spread.

  • Check the adhesive manufacturer’s recommended temperature range.
  • Use a warm water bath to soften adhesive if it’s too thick for application.
  • Work in sections to prevent the adhesive from setting too quickly in colder conditions.

How to Install Sheet Vinyl Flooring in Cold Weather

Step 1: Prepare the Subfloor

A clean, dry, and level subfloor is essential for a smooth installation.

  • Remove dust and debris using a vacuum or damp mop.
  • Check for moisture with a moisture meter—excess dampness can interfere with adhesion.
  • Level any uneven areas using a floor leveller to prevent bumps or dips in the vinyl.

Step 2: Measure and Cut the Vinyl

Cold vinyl can be difficult to cut accurately, so take extra care.

  • Allow the vinyl to reach room temperature before cutting.
  • Use a sharp utility knife and a straight edge for precise cuts.
  • Leave a slight expansion gap (about 3-5mm) around the edges to accommodate temperature-related movement.

Step 3: Lay the Vinyl in Place

Once cut, position the sheet vinyl in the room.

  • Let it rest for an additional 1-2 hours before securing it to ensure it adjusts properly.
  • Smooth out any wrinkles or air pockets using a rolling pin or a vinyl flooring roller.

Step 4: Apply Adhesive (If Required)

For glue-down installations, proper adhesive application is critical.

  • Spread adhesive evenly with a notched trowel.
  • Follow the manufacturer’s instructions for open time (how long to wait before placing the vinyl onto the adhesive).
  • Use a flooring roller to press the vinyl down firmly, ensuring good contact with the adhesive.

Step 5: Seal the Edges

Sealing the edges prevents curling and ensures a tight fit.

  • Use a seam sealer to protect against moisture seepage.
  • Press edges down firmly with a roller to prevent lifting over time.

Step 6: Allow Proper Drying Time

Adhesive may take longer to dry in colder temperatures.

  • Avoid walking on the floor for at least 24 hours to allow full bonding.
  • Keep the room temperature stable to prevent sudden contractions or expansions.

Additional Tips for a Smooth Installation

  • Work in a Warm Room: Keeping the space warm during and after installation helps prevent movement issues.
  • Don’t Force Stiff Vinyl: If it’s too rigid, gently warm it with a hairdryer or let it sit longer in a heated room.
  • Check for Bubbles and Wrinkles: Use a flooring roller to press out any imperfections before the adhesive dries.
  • Secure Doorways & Edges: These areas are most prone to peeling, so press them down firmly.
  • Avoid Cold Air Drafts: Sudden cold air can cause the vinyl to contract, leading to gaps.

Conclusion

Installing sheet vinyl flooring in cold weather requires extra precautions to ensure flexibility, proper adhesion, and a flawless finish. By acclimating the flooring, keeping the room warm, using the right adhesive, and allowing for proper expansion gaps, you can achieve a professional-looking installation—even in winter conditions.

With the right approach, you can enjoy a durable and stylish floor that stands up to temperature changes while maintaining its beauty and performance.

Are you on the hunt for new flooring? With Easipay Carpets you can get the flooring of your dreams from as little as £10 per week, completely interest free! We offer Carpets, Vinyl and Laminate flooring with free underlay, door bars, carpet grippers and beading wherever needed on payment plans that spread the cost of the flooring into smaller, more manageable payments. Find out more at the button below! 

Still Got Questions? Here's 10 FAQs!

Yes, but you must acclimate it to room temperature and maintain a stable indoor climate during installation.


Ideally, between 18-24°C (65-75°F) to prevent stiffness and adhesion issues.

Cold temperatures make vinyl brittle, increasing the risk of cracking when cut or installed.

Yes, but use it sparingly to avoid overheating or warping the material.

Use an adhesive rated for low temperatures, and warm it slightly if it becomes too thick to spread.


Yes, leaving a 3-5mm expansion gap around the edges prevents buckling when temperatures fluctuate.

It may take longer than usual—allow at least 24-48 hours for full bonding.

The vinyl may expand or contract unpredictably, leading to gaps or warping.


It’s best to warm the subfloor first or use an insulating underlayment to prevent cold-related adhesion issues.


If possible, installing in mild temperatures is easier, but following the right steps can make cold-weather installation successful.

You Might Also Like...

About The Author

Pay Weekly Flooring From £10 Per Week!

• 0% Interest!
• No Credit Checks!
• Small Weekly Payments!
• Free Underlay!
• Free Door Trims!
• Free Carpet Grippers

Apply Easily Online For Your Pay Weekly Flooring Plan!