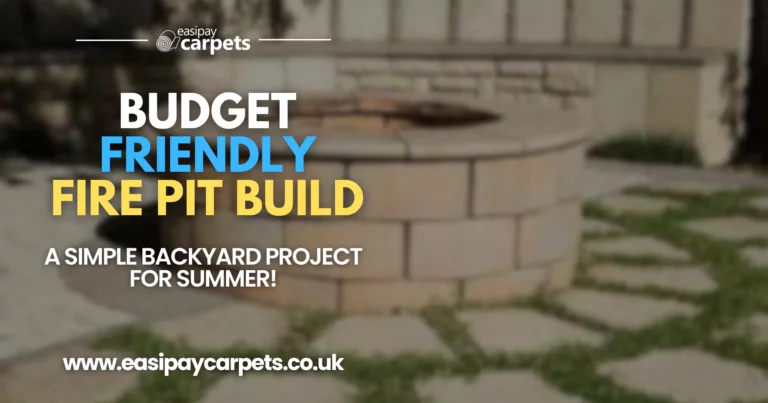

How to Make a Simple DIY Fire Pit for Your Garden
A fire pit is a great addition to any garden, providing a cosy space for gatherings, keeping you warm on chilly evenings, and adding an attractive focal point to your outdoor area.
The best part? You don’t need to spend a fortune or hire professionals. With just a few basic materials and some DIY skills, you can build your own fire pit in as little as a day.
This guide will walk you through a simple, budget-friendly fire pit project, perfect for anyone who loves a bit of outdoor DIY.
Materials You’ll Need
Before starting, gather the following materials:
✔ Fire bricks or heat-resistant paving stones (approx. 25-30 for a standard circular pit)
✔ Concrete blocks or regular bricks (optional, for added structure)
✔ Gravel or sand (for the base)
✔ A metal fire ring (optional) (for extra durability)
✔ Shovel (for digging the base)
✔ Level (to ensure even placement)
✔ Tape measure (for accurate dimensions)
✔ Rubber mallet or hammer (for adjusting bricks)
✔ Heat-resistant mortar (optional) (to hold bricks in place)
Step 1: Choose the Perfect Location
Select a safe, flat area in your garden, keeping the following in mind:
- At least 3 metres away from houses, fences, trees, sheds, and overhanging branches.
- Away from flammable materials like wooden decking or dry grass.
- Preferably on a non-flammable surface like gravel, stone, or compacted earth.
✔ Tip: Check your local council regulations to ensure backyard fire pits are allowed in your area.
Step 2: Mark and Dig the Base
1️⃣ Decide on the size of your fire pit. A common size is 90-120 cm in diameter.
2️⃣ Mark a circle on the ground using a rope and a stick (or a large bucket as a guide).
3️⃣ Dig out a shallow hole about 15-20 cm deep.
4️⃣ Fill the base with gravel or sand, spreading it evenly. This improves drainage and prevents weed growth.
✔ Tip: Use a level to check that your base is even before moving on.
Step 3: Lay the First Layer of Bricks
1️⃣ Arrange fire bricks or paving stones around the edge of your circle to form the first layer.
2️⃣ Make sure they fit tightly together, leaving no large gaps.
3️⃣ If using mortar, apply it between bricks to hold them in place (optional).
4️⃣ Use a rubber mallet to tap the bricks into a level position.
✔ Tip: If you’re using a metal fire ring, place it in the centre now and build the bricks around it.
Step 4: Stack Additional Layers
1️⃣ Stack the next layer of bricks, staggering them so the seams don’t align with the previous row.
2️⃣ Continue stacking 2-4 more layers, depending on the height you want.
3️⃣ Check that each layer is level and stable before moving on.
4️⃣ If using mortar, allow it to fully dry before lighting your first fire.
✔ Tip: A slightly shorter fire pit (around 45 cm tall) allows heat to spread better for cooking and warmth.
Step 5: Add Finishing Touches
✅ Line the inside with additional fire bricks (for extra heat resistance).
✅ Fill the bottom with a layer of sand to help with heat distribution.
✅ Create a seating area around your fire pit with benches or outdoor chairs.
✔ Tip: If you want a more polished look, use concrete adhesive to secure the top layer of bricks.
Step 6: Test Your Fire Pit
- Start with a small fire using dry wood or charcoal.
- Avoid treated wood or plastics, as they release harmful chemicals.
- Check for stability—if bricks move, adjust them before future use.
✔ Tip: Keep a bucket of water or sand nearby for safety.
Fire Pit Safety Tips
✔ Always supervise the fire and fully extinguish it after use.
✔ Avoid burning wet wood, which produces excessive smoke.
✔ Keep a safe distance between the fire and seating areas.
✔ Never use flammable liquids (like petrol) to start a fire.
✔ Clean out ash and debris regularly for proper airflow.
Conclusion
Building a DIY fire pit is a simple and rewarding project that can transform your garden into a warm, inviting space. By following these easy steps, you can create a safe, stylish, and budget-friendly outdoor feature that you’ll enjoy for years to come.
With just a weekend’s worth of work, you’ll have the perfect setup for cosy evenings, barbecues, and outdoor gatherings with family and friends.
Are you on the hunt for new flooring? With Easipay Carpets you can get the flooring of your dreams from as little as £10 per week, completely interest free! We offer Carpets, Vinyl and Laminate flooring with free underlay, door bars, carpet grippers and beading wherever needed on payment plans that spread the cost of the flooring into smaller, more manageable payments. Find out more at the button below!
Still Got Questions? Here's 10 FAQs!
It depends on materials, but a simple brick fire pit can cost as little as £50-£100 if using reclaimed bricks and gravel.
Yes, use fire bricks or heat-resistant paving stones to prevent cracking under high heat.
It’s best to build on gravel, stone, or sand to prevent fire hazards and sinking over time.
A depth of 15-20 cm is usually enough for stability and drainage.
Yes, but only if they are heat-resistant—regular concrete can crack with extreme heat.
No, but it extends the lifespan of your fire pit by protecting bricks from heat damage.
Dry hardwood (oak, ash, beech) burns cleanly with minimal smoke.
Use seasoned (dry) wood and allow proper airflow by keeping small gaps between bricks.
Yes! Add a grill grate to cook over an open flame—great for barbecues and marshmallow toasting.
Check your local council regulations before building, as some areas may have restrictions.


