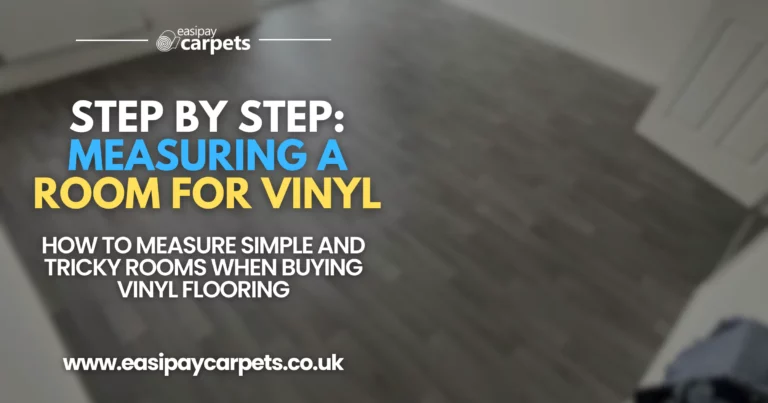
Before buying vinyl flooring, it’s essential to measure your room correctly to avoid ordering too much or too little material. Proper measurements help reduce waste, save money, and ensure a smooth installation.
This guide will walk you through step-by-step instructions to measure your room accurately, including tips for awkward spaces and cutting waste.
✔ Tape Measure – A retractable one at least 5 metres long.
✔ Notepad & Pen – To record measurements.
✔ Calculator – To add up floor areas.
✔ Graph Paper (Optional) – Helpful for sketching your room layout.
✔ Laser Measure (Optional) – Ideal for large or irregular-shaped rooms.
1️⃣ Measure the length of the room from one wall to the opposite wall.
2️⃣ Measure the width of the room from side to side.
3️⃣ Multiply length × width to calculate the total floor area in square metres (m²).
✔ Example Calculation:
If a room is 4m long × 3m wide → 4 × 3 = 12m²
🚨 Tip: Always measure at the longest and widest points, as walls may not be perfectly straight.
If your room has extra sections (such as alcoves, door recesses, or bay windows), measure them separately and add them to your total area.
1️⃣ Measure each additional section separately (length × width).
2️⃣ Add these areas to the main room’s total.
✔ Example Calculation:
Main room: 12m²
Alcove area: 1m × 1.5m = 1.5m²
Total flooring needed = 12 + 1.5 = 13.5m²
🚨 Tip: Always round up to the nearest half metre to allow for slight miscalculations and cutting waste.
✔ Example Calculation:
Total room area: 13.5m²
Kitchen island: 1.2m × 0.8m = 0.96m²
Final flooring needed: 13.5 – 0.96 = 12.54m²
🚨 Tip: If you’re unsure, it’s better to overestimate rather than risk buying too little flooring.
To allow for cutting, mistakes, and fitting adjustments, add 10% extra to your total flooring order.
✔ Formula:
Total area × 1.1 (to add 10%)
✔ Example Calculation:
Final floor space: 12.54m²
Wastage allowance: 12.54 × 1.1 = 13.8m²
You should order at least 14m² of vinyl flooring.
🚨 Tip: If your room has many corners or complex cuts, increase wastage to 15%.
Vinyl flooring comes in standard roll widths, typically 2m, 3m, and 4m wide.
🚨 Tip: If possible, buy a vinyl roll wide enough to cover your room in one piece to avoid joins.
Rooms over 4.5m wide
Rooms under 4.5m wide:
❌ Not adding extra for cutting waste – Always allow at least 10% extra.
❌ Forgetting door recesses and alcoves – Measure every space that will need flooring.
❌ Not accounting for fixed objects – Deduct areas covered by built-in features.
❌ Choosing the wrong vinyl roll width – Pick the widest possible roll to avoid seams.
❌ Not double-checking measurements – A small miscalculation can mean ordering too little flooring.
Measuring your room correctly for vinyl flooring is key to avoiding waste and unexpected costs. By following this guide and allowing for extra cutting space, you can ensure you buy the right amount of flooring for a perfect fit.
If you’re unsure, most flooring retailers offer free measuring services, or you can consult a flooring specialist to confirm your measurements.
Are you on the hunt for new flooring? With Easipay Carpets you can get the flooring of your dreams from as little as £10 per week, completely interest free! We offer Carpets, Vinyl and Laminate flooring with free underlay, door bars, carpet grippers and beading wherever needed on payment plans that spread the cost of the flooring into smaller, more manageable payments. Find out more at the button below!
It’s best to add 10% extra for cutting and fitting, or 15% for irregular-shaped rooms.
You’ll need to use two pieces of vinyl and join them. Place seams in low-traffic areas for durability.
Measure only the open floor space, excluding areas under fixed cabinets or islands.
Choose the widest roll possible to minimise seams and make installation easier.
Yes, but for small bathrooms, add at least 15% extra to allow for fitting around toilets and sinks.
No, measure wall-to-wall at floor level, not the skirting boards.
Measure at multiple points and use the widest measurement to ensure full coverage.
Measure each step separately, including depth, width, and riser height.
Use a laser measure or divide the room into smaller sections for easier calculations.
Most suppliers accept returns for unused, uncut flooring, but always check their policy first.


Get In Touch
Eco-Friendly
©2025 Easipay Carpets Limited